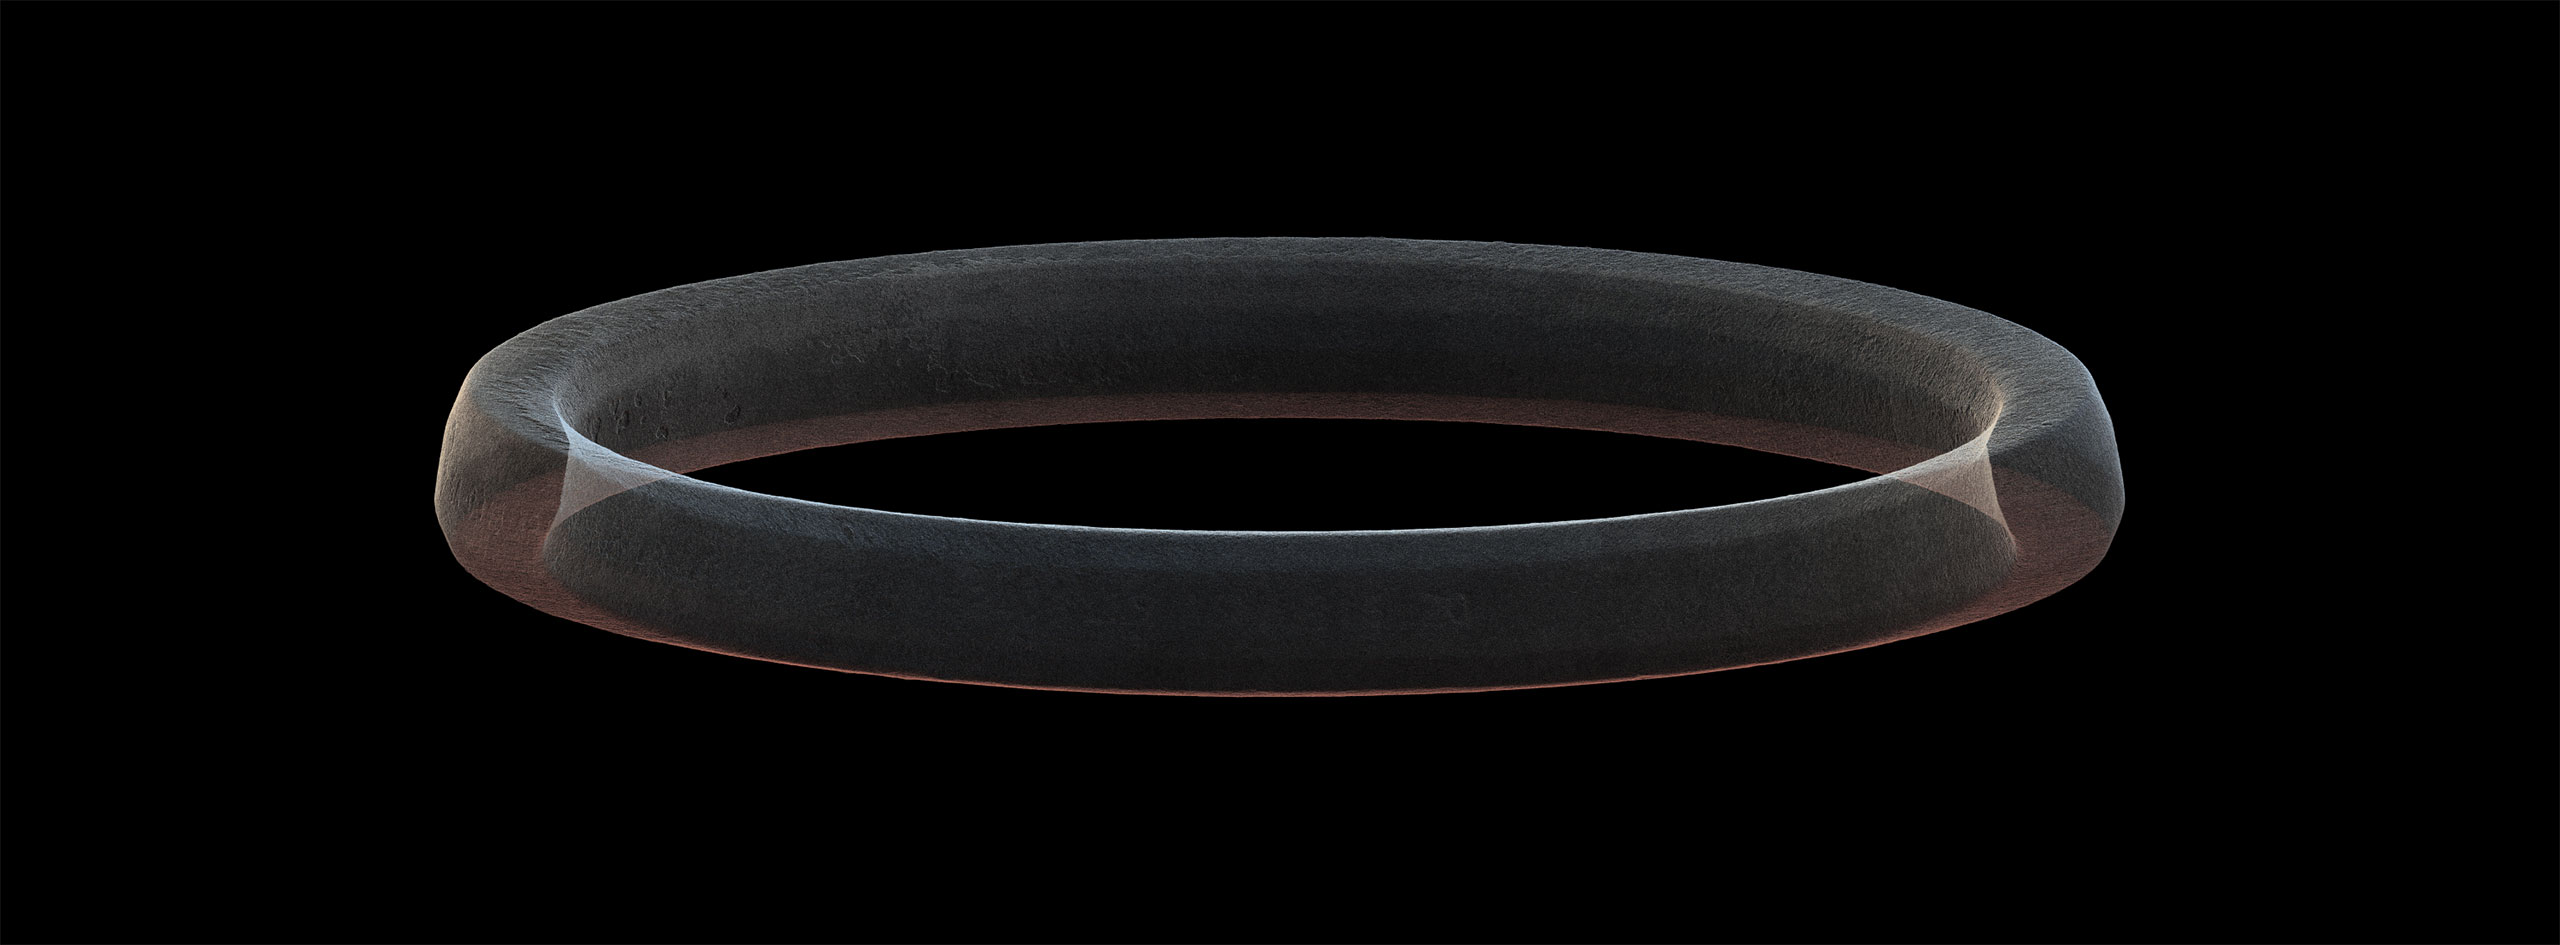

An existing customer of ours got in touch regarding a challenge surrounding a subsea flowline tie-in. Following removal of a blind flange from the flowline, it was noticed that the two flanges appeared to be mis-matched, and as a result, the gasket was warped. They decided that understanding the shape of this challenge would be helpful in resolving it.
As part of our urgent response service, we immediately investigated the availability and quality of any subsea cameras currently available on the vessel. Diver-helmet cameras were the only pieces of available hardware, but their use was negated due to the nature and accuracy requirement of the 3D scan.
We proposed flipping the problem on its head – recovering the gasket to vessel, and using a 3D scan of the gasket to create a 3D ‘relief’ of the subsea challenge.
We instructed the survey team to scour the vessel for a variety of items that would serve as a topside 3D photogrammetry ‘kit’. Meanwhile we wrote a procedure for the offshore team to follow.
Our contact located a high-end compact digital camera, then began a process of familiarisation and preparation of the subject matter. We initiated a process of guided capture, and after instructing some tweaks to the photography methods, we received a high quality image dataset. This data was then processed into a 3D point cloud and prepared for reverse engineering.
The result of our combined efforts onshore and offshore was a 3D point cloud accurate to <0.1mm, with a draft report being issued a mere 27 hours after we received the data.
We then requested a CAD version of the gasket profile and used this to create a 3D version of the original part, which allowed us to make high-accuracy deviation calculations on the overall gasket.
By taking profile ‘slices’ at several sections around the circumference and comparing them to the original shape, we were able to detail the ‘twisting’ nature of the warping experienced by the gasket.
The project highlighted the potential benefit of having low-cost 3D photogrammetry ‘kits’ available during vessel operations to minimise any delays caused by the availability of hardware, to the extent that we are now offering this as an additional service.
Importantly for such a task, the already tight vessel schedule was unaffected by the need to perform the 3D scanning activity.
No Viewport3 personnel attended the vessel, and no additional equipment was sent to or collected by the vessel, a testament to the flexible nature of the Viewport3 processes and the diligent work performed by the offshore team.
The figures speak for themselves in giving a flavour of our rapid, flexible response.
Number of hours from enquiry to 3D scanning: 24
Number of hours from receipt of data to draft report: 27
Number of Viewport3 personnel that lost their weekend: 2
Number of personnel on vessel: 0
Equipment shipped to vessel: 0
Number of images collected: 924
Number of pixels transmitted to Viewport3: 18.4 billion
Number of values in the 3D dataset: 47.4 million
